Thingino Firmware Installation Methods
This guide provides detailed instructions on various methods to install Thingino firmware on your device. Please read through the methods carefully and choose the one that best suits your needs and technical skills.
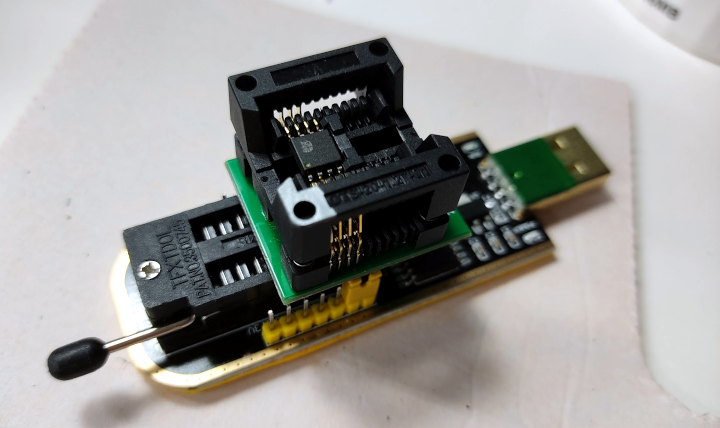
Off-board
Desolder the flash chip and reprogram it in a programmer.
Requirements:
- Soldering station
- CH341a programmer
- SOIC8 chip adapter
- Soldering skills
This method provides the most reliable way to install Thingino firmware, and is the only official method that guarantees a successful installation.
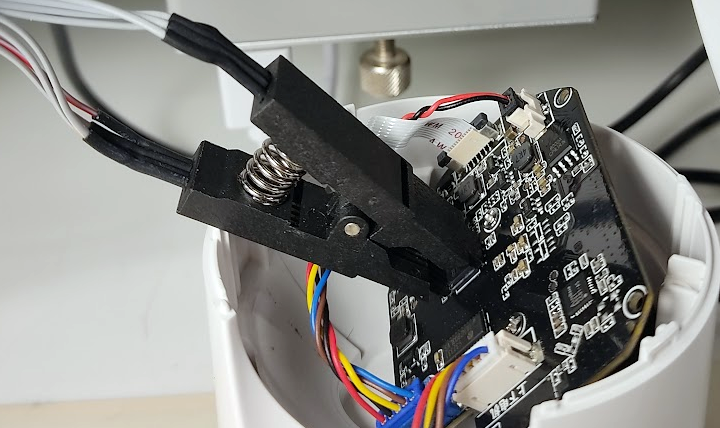
In-circuit
Connect to the flash chip while it is still soldered to the board and reprogram it.
Requirements:
- CH341a programmer
- SOIC8 programming clip
- Patience and steady hands
Cons:
- It works for most cameras but not all.
- Incorrect connections may damage the camera.
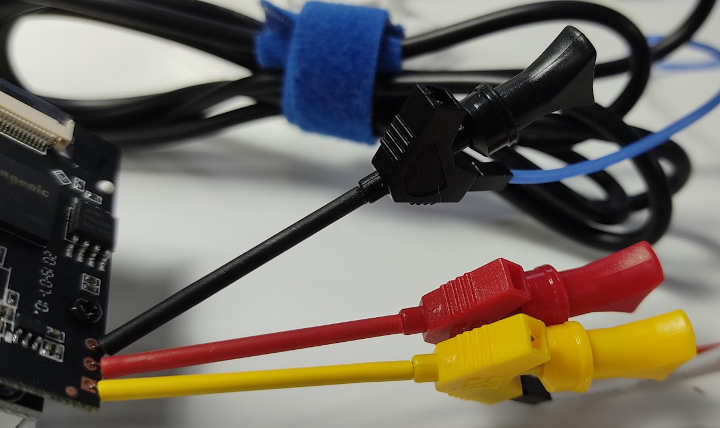
Via serial connection
Connect to the camera's UART port and reprogram the flash chip using U-Boot commands.
Requirements:
- UART adapter
- Jumper wires
- Terminal software (e.g., PuTTY, minicom)
Cons:
- Stock bootloader should be accessible and support serial upload.
- Incorrect connections may damage the camera.
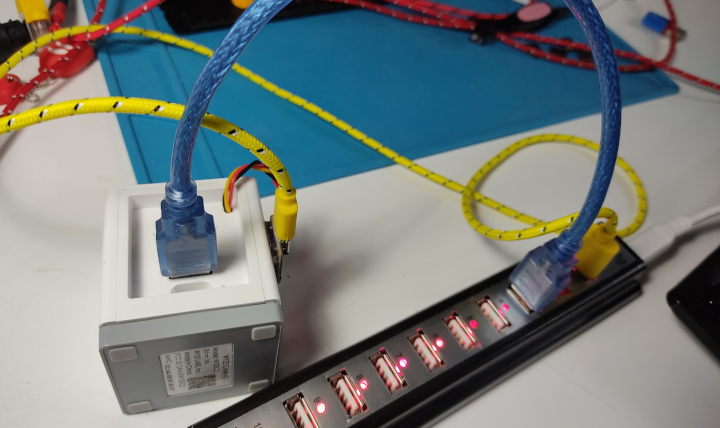
Over USB port with Cloner tool
Connect to the camera's USB port and reprogram the flash chip using the Ingenic USB Cloner tool.
Requirements:
- USB OTG cable with data lines
- Ingenic USB Cloner tool
Cons:
- Works only on specific camera models.
- Does not work on cameras with USB wireless modules.
From an SD card with a No-Tool Installer
Insert the SD card into the camera and power it on. The camera will automatically detect the firmware file and start the installation process.
Requirements:
- FAT32 formatted SD card
- No-Tool Installer for your camera
Cons:
- Camera must have an SD card slot.
- Stock firmware must support SD card installation.
Last updated: November 2025