Non-Intrusive Installer for Wyze Cam 2
Download niti-wyze_c2_cp1.7z bundle.
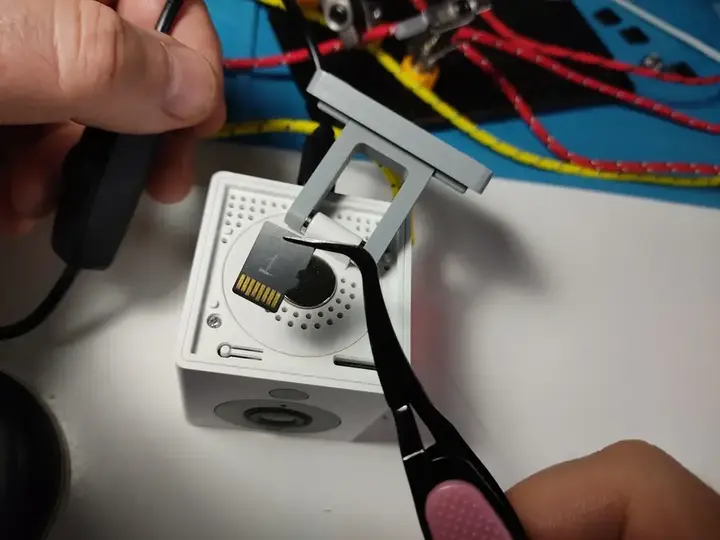
Prepare four SD cards, or you can reuse the same card.
Card 1: Flash Upgraded Stock Bootloader

- Format the first SD card to FAT32.
- Copy content of the
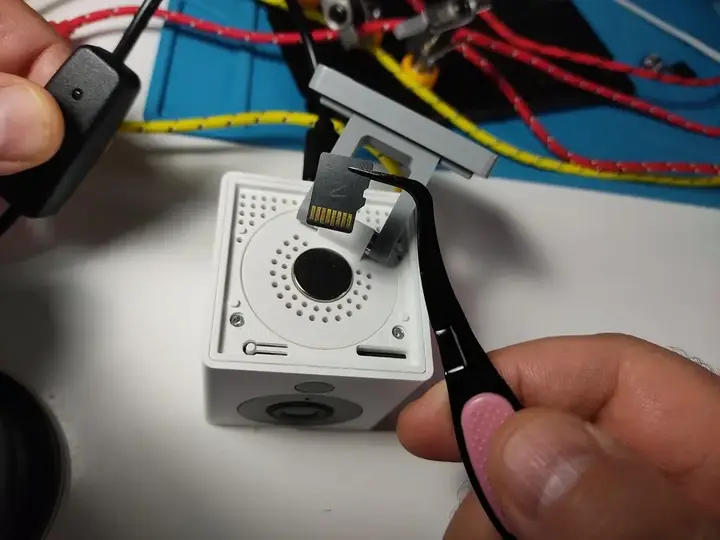
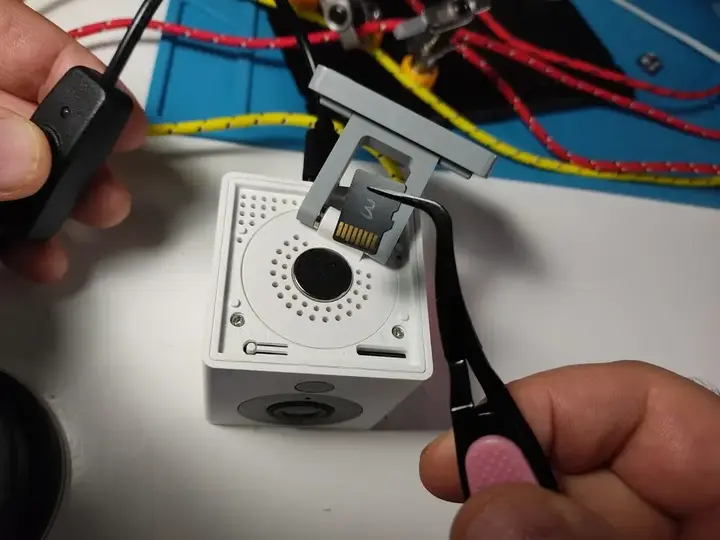
card1/directory to the card. - Insert the card into the camera.
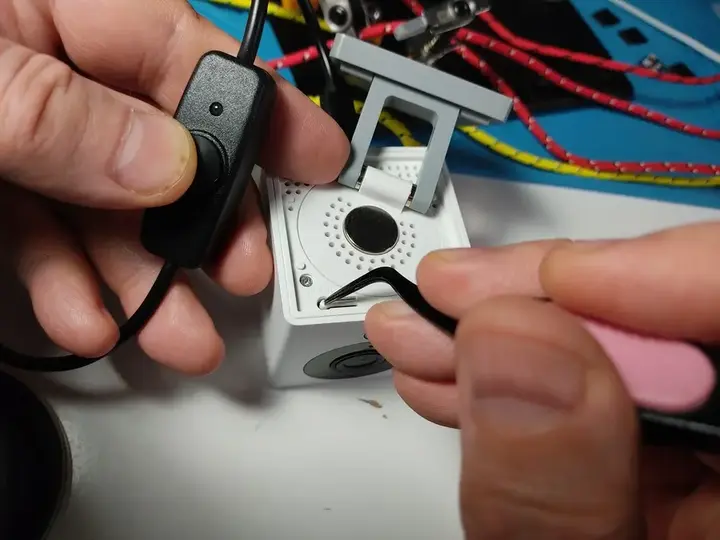
- Press the SETUP button, and power on the camera maintaning pressure for about five more seconds. The camera will upgrade bootloader to the one that can load a custom kernel.

Card 2: Flash Factory Firmware

- Format the second SD card to FAT32.
- Copy content of the
card2/directory to the card. - Insert the card into the camera.
- Power on the camera and let it flash the factory firmware (Wyze v2 4.9.8.1002) onto the device. Once the process is complete, the device will reboot.
Card 3: Flash Boot and Backup Kernel

- Format the next SD card to FAT32.
- Copy content of the
card3/directory to the card. - Insert the card into the camera.
- Power on the camera and let it detect the hardware, back up the stock firmware, and erase the bootloader partition preparing the camera for flashing Thingino firmware over USB port using Cloner tool.
Card 4: Flash Thingino
- Format the last card to FAT32.
- Download a corresponding firmware binary from Thingino website
and place it on the card as
autoupdate-full.bin - Insert the card into the camera.
- Power up the camera and wait for the firmware to flash. It should take about two and a half minutes. When it's done, you'll hear a click.
- Check for a new wireless network on your tablet of phone. It's called
THINGINO-xxxx where xxxx is the camera's new MAC address.
Connect to the network and open
http://thingino.local/in your browser. - After flashing the firmware, configure access to your wireless network.